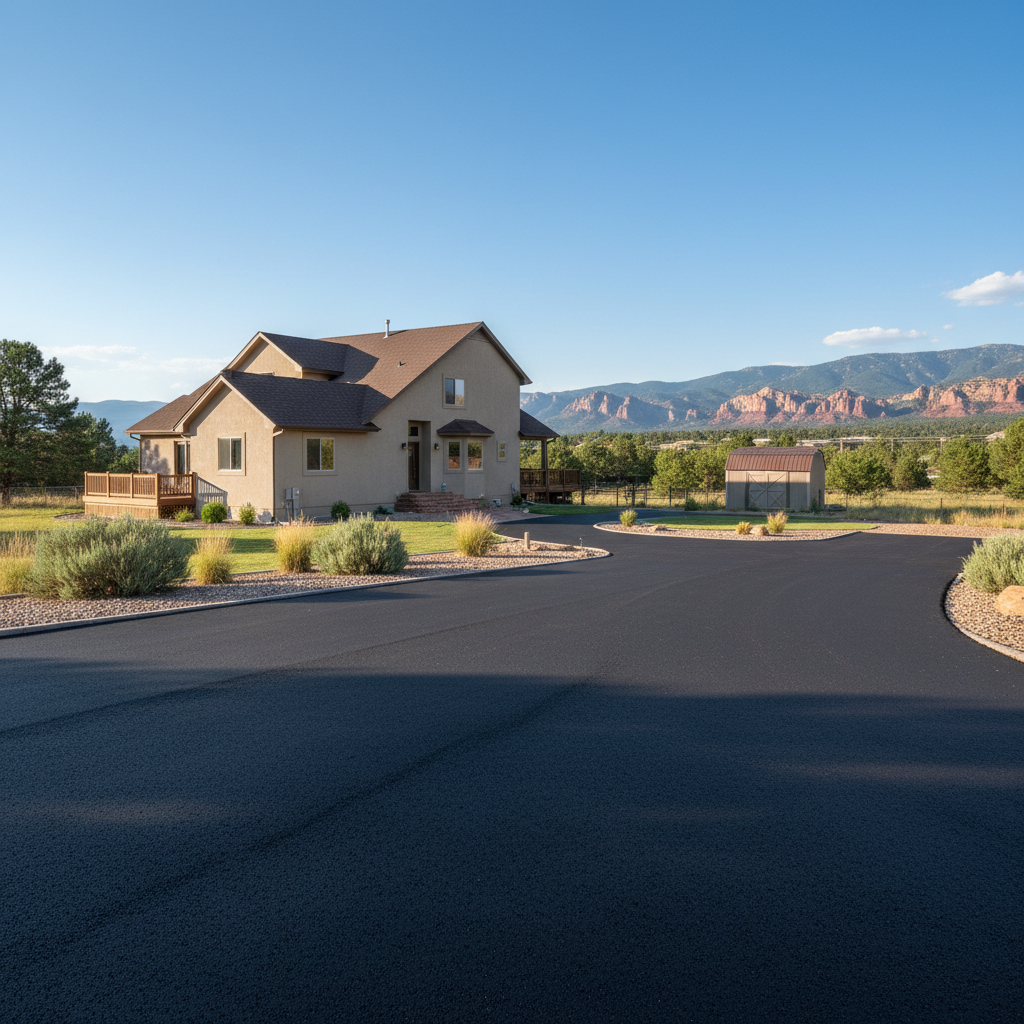
So, you're finally ready to tackle that crumbling driveway, or maybe you just need a proper spot for your RV. Good for you! A new asphalt surface isn't just about looking good; it's about making things functional, safe, and protecting your home's value. But hold on, before you jump right in, there's some planning you'll want to do. I've seen countless projects over the years, and the smoothest ones? They always start with a homeowner who's prepared.
Setting Your Project Timeline: What to Expect
Let's talk about how long this all takes. This isn't a quick weekend project, and it definitely won't happen overnight. From your very first thought to the final roll of the paver, here's a rough idea of how things usually play out:
- Initial Research & Contractor Contact (2-4 weeks): You're doing this part right now! You'll want to get a few quotes, check references, and make sure you're talking to reputable folks. Seriously, don't rush this step.
- Site Visit & Estimate (1-2 weeks after contact): A good contractor will come out, take a look at your property, measure everything, and talk through what you specifically need. Then, they'll send over a detailed estimate.
- Decision & Contract Signing (1-2 weeks): Once you've picked your contractor, go over the contract really carefully. Make sure everything you discussed is written down.
- Scheduling (2-8 weeks, sometimes more): This is where things can get a bit variable. The best contractors are often busy, especially during peak season (which is spring through fall here in Canon City). They'll fit you into their schedule. Don't expect them to start tomorrow, okay?
- Permits (if needed, 2-6 weeks): Most residential driveways don't actually need a permit. But if you're doing something bigger or changing the drainage significantly, your contractor should tell you if one's required. That can definitely add some time.
- Construction (1-5 days): The actual paving work usually goes pretty fast once they get started. Prep work, like grading and putting in the base, takes the most time; then, the asphalt itself is laid down quickly.
- Curing Time (2-7 days before light use, 6-12 months before sealing): You absolutely can't drive on it right away. Your contractor will give you exact instructions.
So, from beginning to end, you're generally looking at anywhere from 2 to 4 months for a typical residential project. It might be longer if it's a huge job or if you're trying to schedule during our busy summer months.
What Happens During the Paving Process?
When the crew shows up, here's a general idea of what you'll see them doing:
- Site Preparation & Excavation: First off, they'll mark out the area. If there's an old surface, they'll tear it out. Then, they'll dig out the soil to the right depth. This is super important for drainage and making sure everything stays stable.
- Grading & Base Installation: This step is arguably the most critical. They'll grade the area so water runs off properly – because nobody wants puddles sitting on their brand-new driveway. After that, they'll lay down and compact a strong aggregate base. This base is what actually supports the asphalt and keeps it from cracking.
- Binder/Tack Coat: Sometimes, they'll spray a liquid asphalt binder onto the prepared base before the hot asphalt mix goes down. It just helps the new asphalt stick better.
- Asphalt Application: The hot asphalt mix arrives by truck and then a paving machine spreads it out evenly. It's hot, usually around 300 degrees Fahrenheit, so it's nice and pliable.
- Compaction: Heavy rollers follow right behind the paver, compacting the asphalt to get the right density and smoothness. This is what makes it strong and durable, after all.
- Cooling & Curing: The asphalt needs time to cool down and harden. This takes a few days before you can drive on it, and it'll keep curing for several months.
How to Prepare Your Property for Paving Day
You can really help make the whole process smoother for everyone involved:
- Clear the Area: Move your vehicles, trailers, boats, trash cans, planters, and anything else out of the work zone. This includes anything that might get in the way of equipment access.
- Mark Sprinklers & Utilities: If you've got underground sprinkler heads, invisible dog fences, or shallow utility lines near where they'll be working, mark them clearly with flags or paint. Your contractor will do their best, but you know your property better than anyone.
- Trim Overhanging Branches: If you have any low-hanging tree branches that might interfere with tall equipment, trim them back a bit.
- Secure Pets & Children: Keep pets indoors or in a secure, fenced area far away from the construction. The site will be busy with heavy machinery and hot materials, which is no place for curious kids or animals.
- Plan for Access: Understand that your driveway will be unusable for a few days. Think ahead about where you'll park your cars and how you'll get in and out of your house.
- Talk to Neighbors: Give your neighbors a heads-up, especially if the equipment will be noisy or if access to their property might be temporarily affected.
Key Questions to Ask Before You Sign That Contract
Don't be shy here. You're making a pretty big investment, right? Here are some questions I'd want to know if I were in your shoes: